IMPORTANT
If your organization has more than one Vosaic account (i.e separate Vosaic accounts for each school within a district or each department within a university), contact our team for SAML setup. Otherwise, some of your users may lose access.
Requirements:
- You must be in an Administrator role to access SAML settings in Vosaic, and have some experience with SAML configurations.
- You must complete the domain verification step completed.
- You must be using G Suite Enterprise, Business, Basic, Education, or G Suite Essentials edition
Setting Up SAML App in Google Apps
Once you've been verified owner of the domain log in to your Google Apps account.
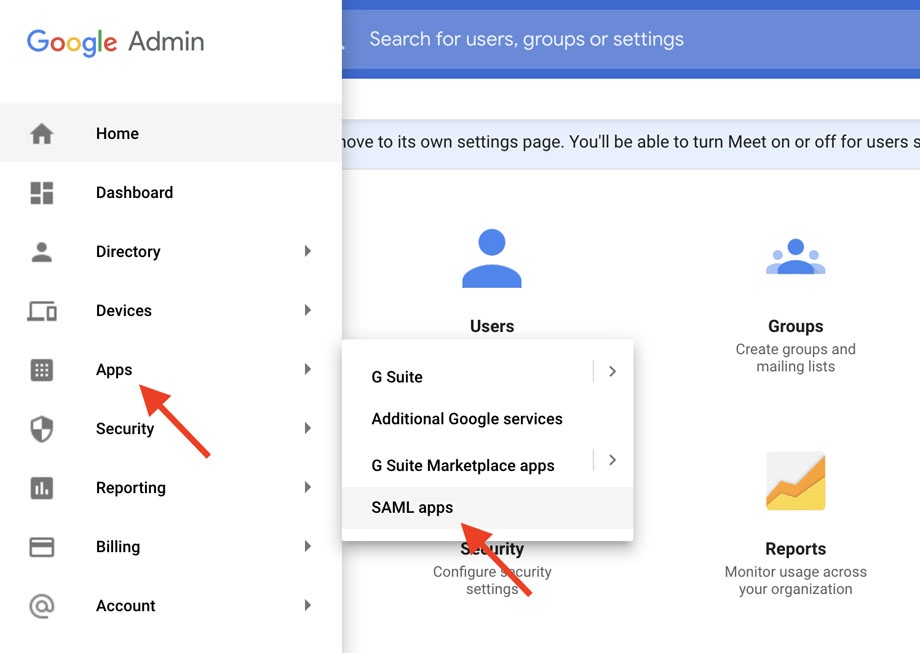
From the main menu in the top left corner select: Apps->SAML Apps
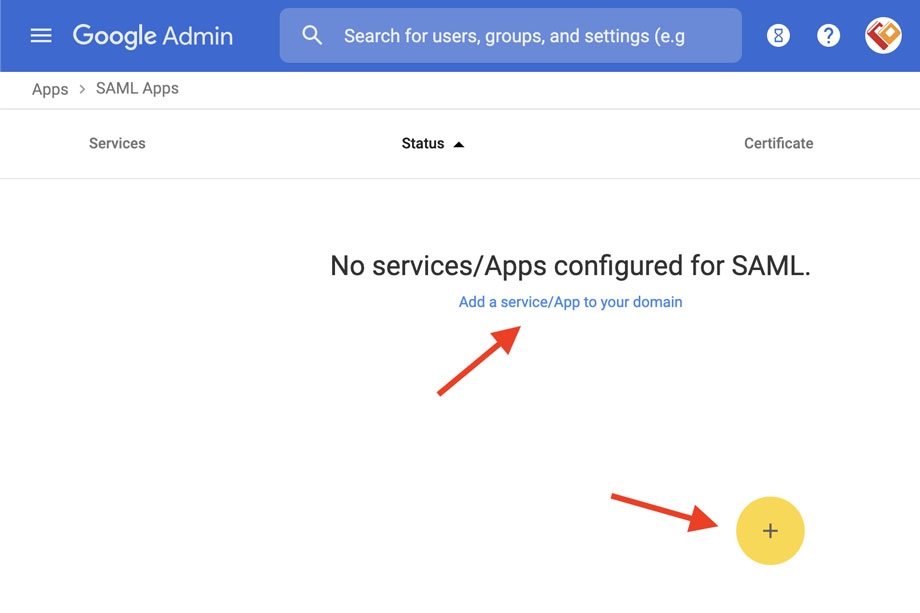
Press the Add button in the bottom right corner.
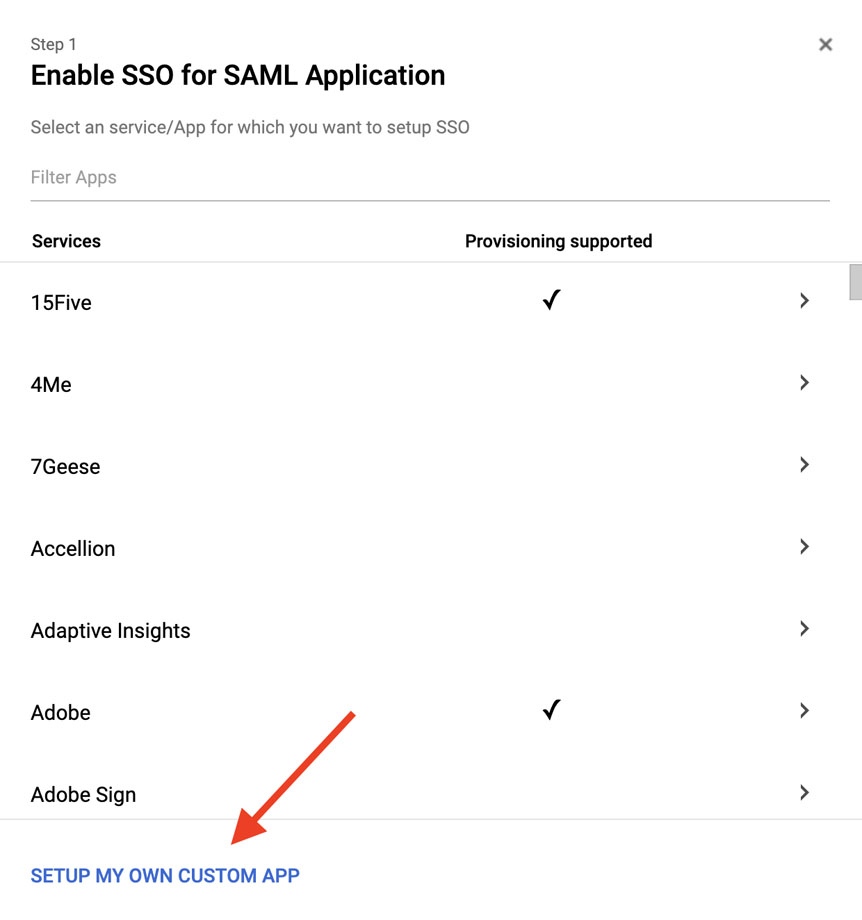
In the “Enable SSO SAML Application” modal, click the “SETUP MY OWN CUSTOM APP” in the bottom left corner of the modal.
On the “Google IdP Information” modal enter the SSO URL and Entity ID URL to appropriate fields in Vosaic.
“Download” the IDP metadata
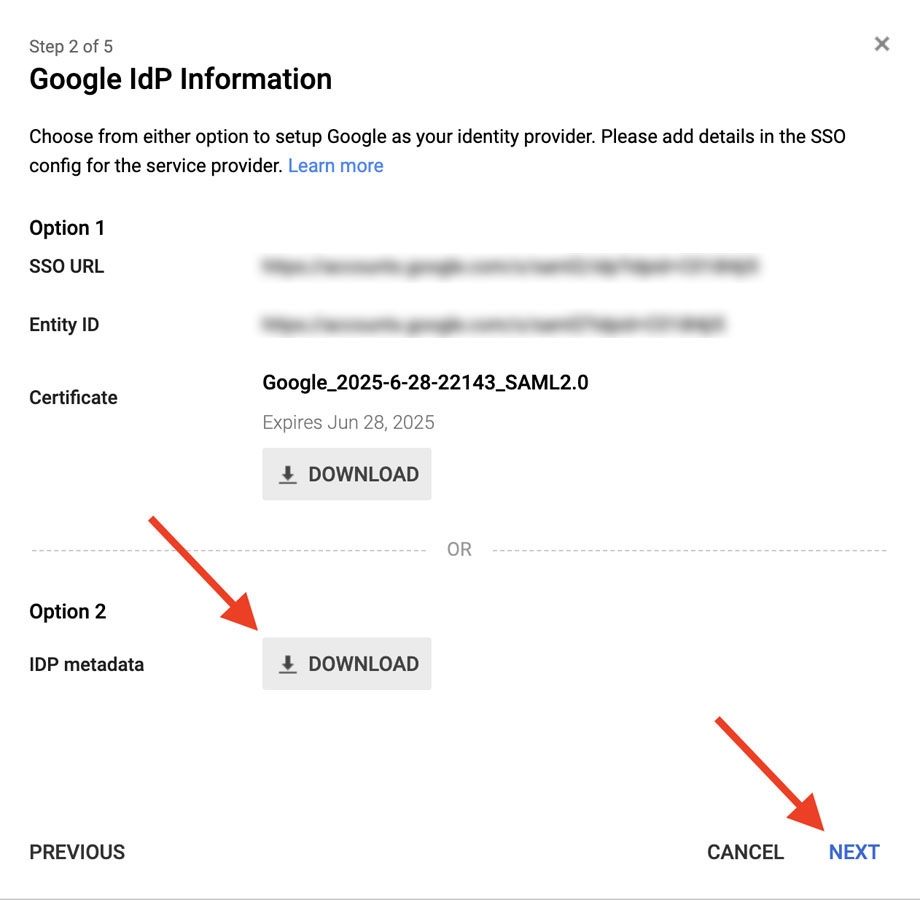
Press NEXT.
In the “Basic Information” modal enter following:
Application Name: Vosaic
Description: Video coaching, teaching, and analysis platform.
(Optional) Upload Vosaic’s logo that you can download here.
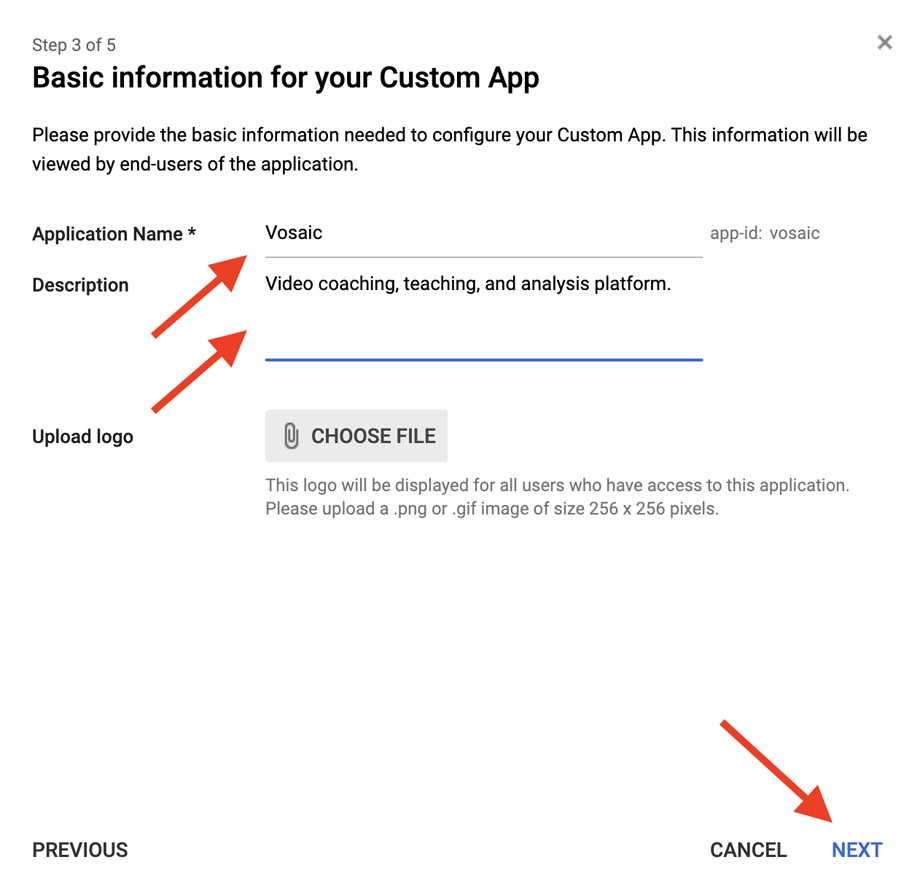
Press NEXT
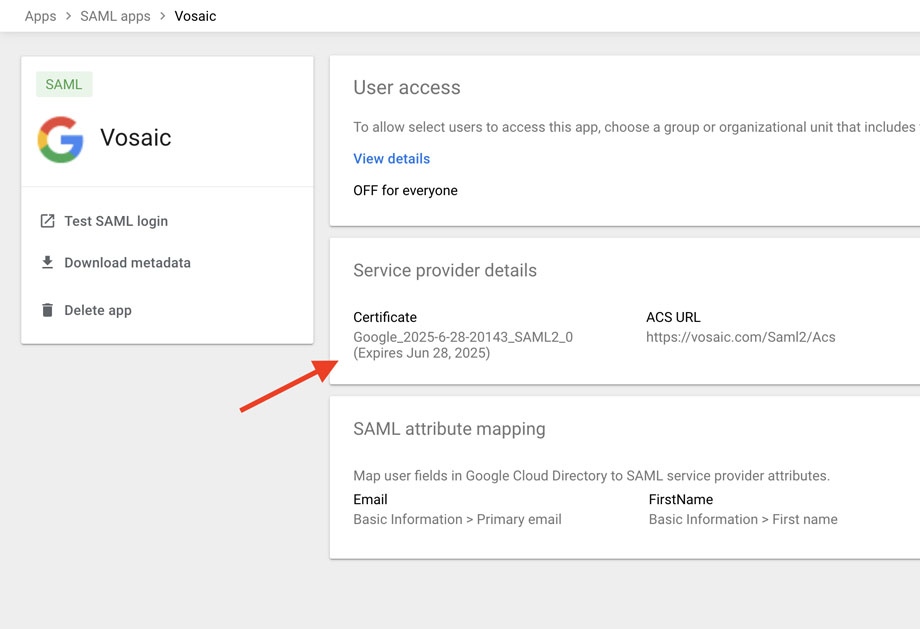
In the “Service Provider Details” modal enter the URL's copied from the SAML setup screen in Vosaic.
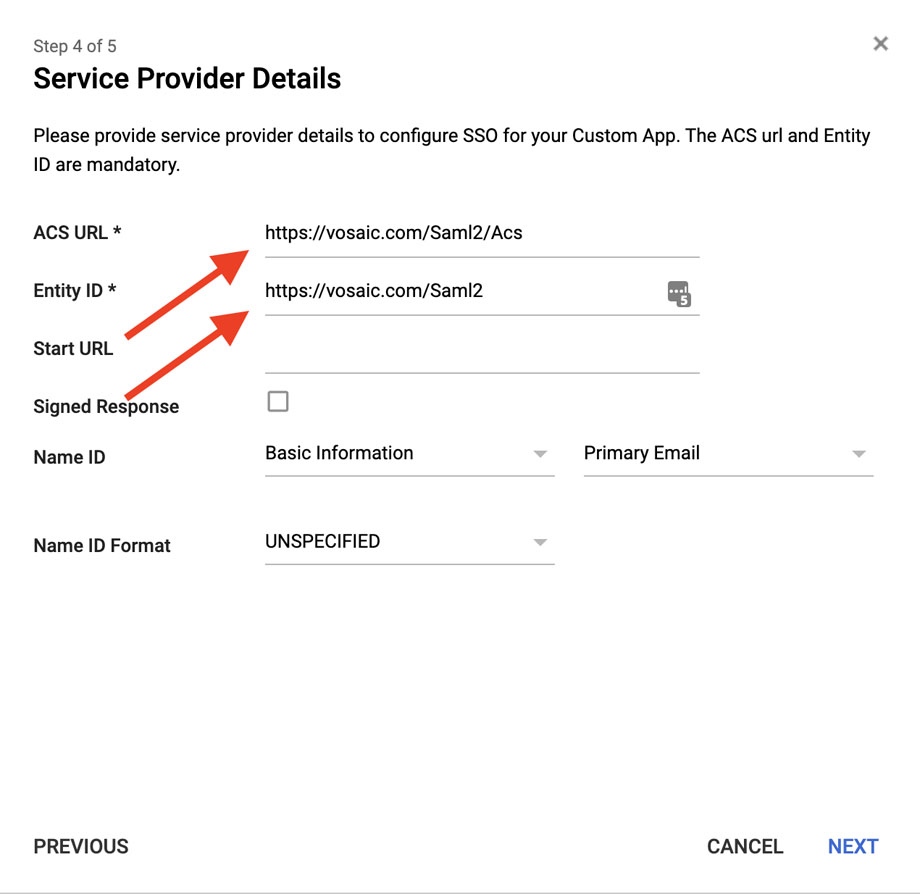
Press NEXT
In the “Attribute Mapping” modal press the “Add New Mapping” button to add mappings for: FirstName, LastName, and Email.
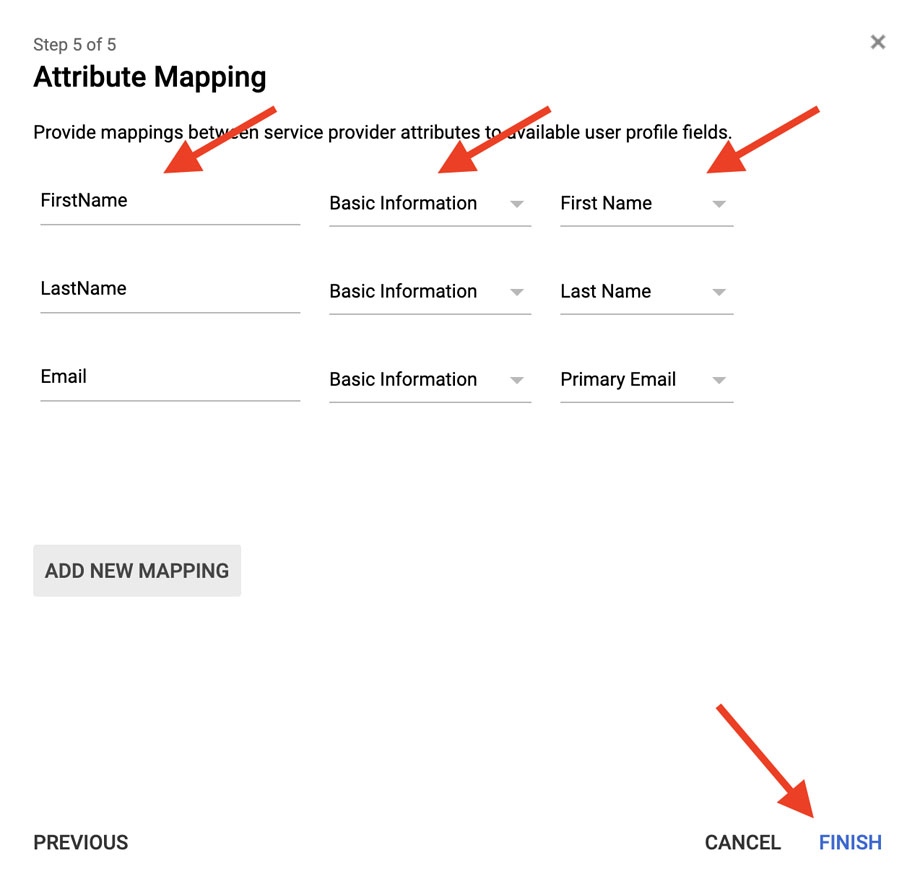
Press FINISH
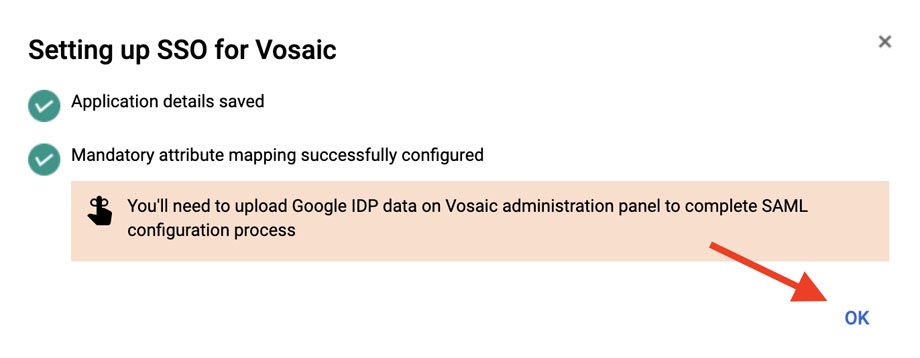
Press OK
Get Google Certificate Text
Next you’ll need to copy the Google certificate and paste it into the appropriate field in Vosaic.
Click the Certificate name
On the next screen click the “Manage Certificates” button.
Click the “Copy” icon next to the certificate.
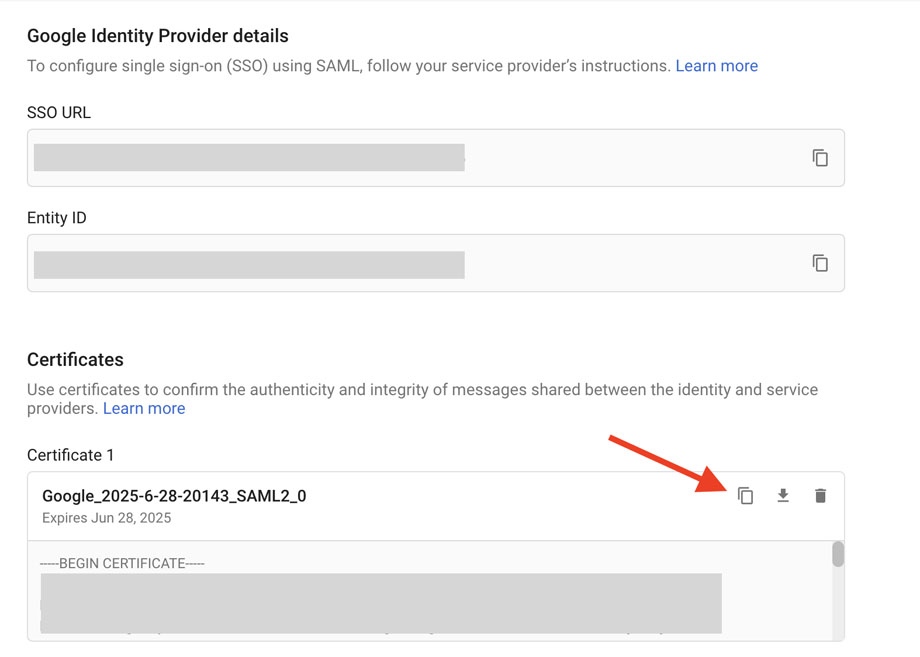
Paste the certificate in the appropriate field in Vosaic.
Upload IdP Metadata
Unlike other IdP’s Google doesn’t provide a URL for the Metadata, so you’ll have to upload the Metadata XML file you downloaded to a publicly accessible server, and enter than URL into the Metadata field in Vosaic.
Map Attributes
Last thing you need to do is enter the mapped attributes. Simply enter following in appropriate Vosaic fields:
- FirstName
- LastName
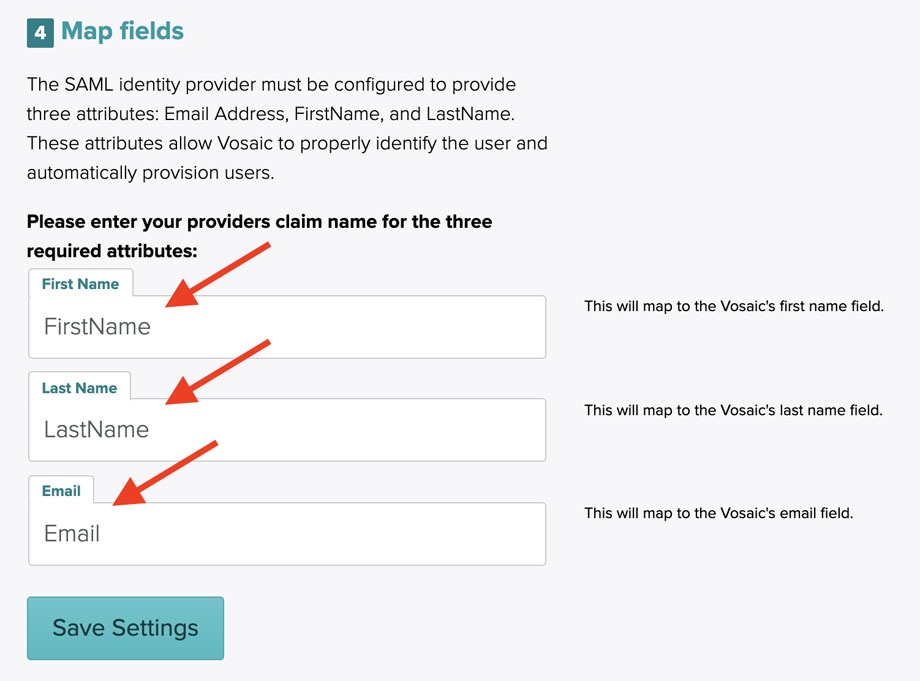
Press the “Save” button and you’re all set up.
Next time your users enter their email address to log in, they’ll be prompted to authenticate with Google instead of entering a password.