To use our iPad app, you will need to have an active Vosaic account. If you don’t have one, it’s easy to sign up. Depending on the size of your organization, you can get started for less than $10/month per user. Once you have an account, download the Vosaic iPad app from the App Store.
Use your Vosaic username (usually your email) and password to log in.
Start a New Video

- Tap the green “+” (plus) icon
- Enter the video name
Add Markup Buttons

- Begin adding buttons by tapping the “Select Names For Buttons You’ll Use To Mark Up This Video”
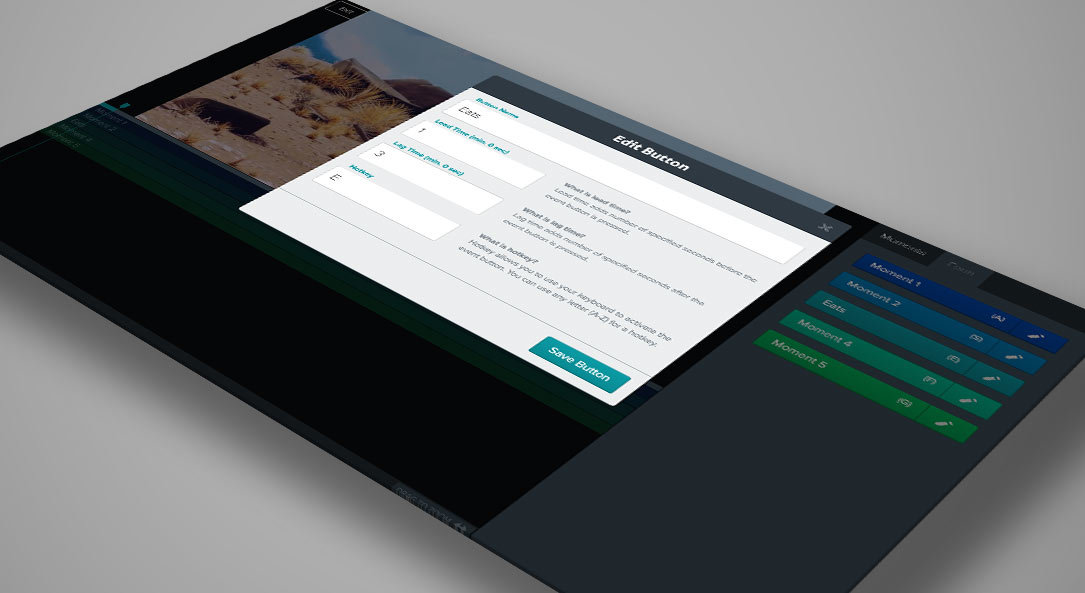
- Enter names of the buttons you will use to markup your video.
E.g. A medical simulation may create buttons such as “Hand Hygiene”, “Introduces Self”, or “Leadership Established” - Update lead and lag time for each of the buttons, if needed.
Tip: Lead time adds a specified number of seconds before the markup button is pressed and lag time adds number of specified seconds after the markup button is pressed. - Tap “Done”
Select Video Source

- Tap “Select Camera" OR "Import Pre-Recorded Video” field.
- Choose from following options:
Back Camera
Front Camera
Import Pre-Recorded
Note: If you’re using a second iPad as a camera, that iPad’s name will also be displayed as one of the options to select from.
- Tap “Done”
- Tap “Continue”
- The camera will load and be ready for you to start recording.
When you’re finished recording, simply press the “Done” and your video will immediately start uploading to your Vosaic account. While the video is uploading, you can tap the “Watch and Markup” button to view it.
Once the upload is complete, the “Uploading Video….” message will be replaced with “Video Uploaded”. You can then tap the “Delete Local File to Save Space” button.


